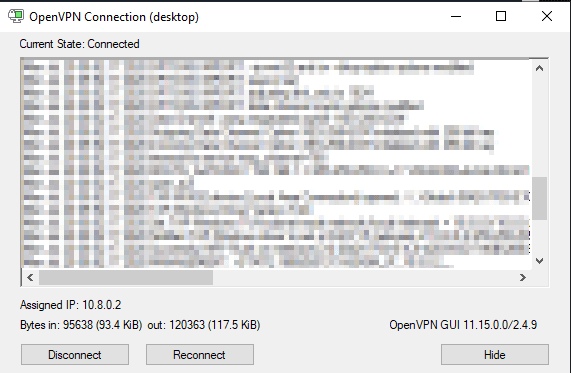
I recently set up a VPN client for personal use by using a VM and OpenVPN.
What you'll need:
- A Linux VM in the Cloud ☁
- OpenVPN Client
For this article, I will be using a VM in Azure.
Getting your Linux VM ready!
Launch a VM Ubuntu 18.04 in Azure.
Make sure you have open the following ports for inbound connection. During the creation process, we can only unlock the following ports: Port 80 (HTTP), 443 (HTTPS), 3389(RDP) and 22 (SSH). In addition to the already unlocked ports, we need to unlock the following ports: TCP on port 943 and UDP on port 1194. We can do this in the network settings of our VM.
Similarly, open the UDP port 1194.
Now SSH into your VM and let's get started with the install.
Run the following commands:
sudo apt update
sudo apt upgrade
- Get the public IP address if not sure!
dig +short myip.opendns.com @resolver1.opendns.com
- Download and run the opnevpn.sh script
wget https://git.io/vpn -O openvpn-install.sh
- Add the execution bit
chmod +x openvpn-install.sh
- Run the script
sudo ./openvpn-install.sh
After the install is complete, you should see a Finished message if it was successful.
Creating profiles:
Now you can run the script again to create different profiles.
There was one created during the install and it should be located in the home directory of your VM.
You can use WinSCP to copy the file to the local machine.
Installing the client on the local machine:
Now you need the OpenVPN client on your local machine and import settings from the .ovpn file that was copied in the previous step.
After installing the client, you should be able to import the .ovpn file into the OpenVPN client
- After the profile is imported, you should be able to connect to your personal VPN server.
Please feel free to reach out if there are any hiccups setting this up.
Also, you can follow me on Twitter!


Top comments (1)
what size of an azure VM did you use? any recommendations?