
I wanted to upload here, but video transcoding was in progress for about 10 days. I deleted and uploaded again, but the same issue happened.
So I uploaded the video on YouTube for you to see how the chatbot is working.
Note that this is just a frontend app using vanilla technologies, HTML, CSS, and, JavaScript.
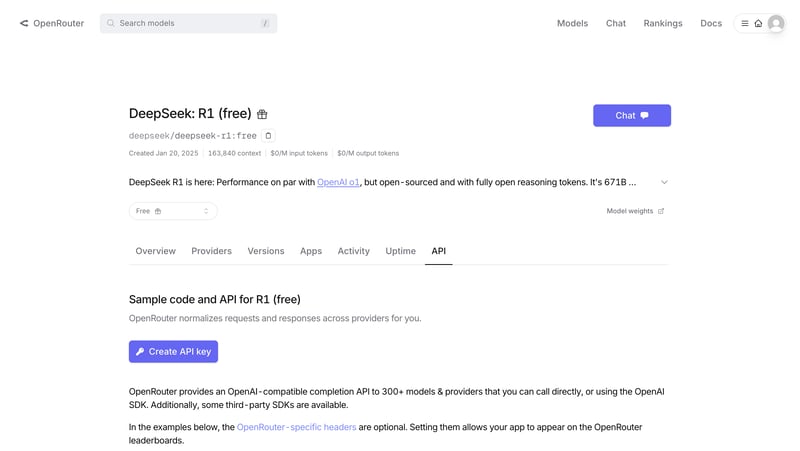
I have provided the complete code below, all you need to do is create your API key from OpenRouter, and paste in the code:
const API_KEY =
          "Add your API KEY";
        const MODEL = "deepseek/deepseek-r1:free";
Here is the complete code for your personal use:
Now let's go through with the functionalities I have added in this chatbot.
1. Chat Messaging and API Integration
User Message Handling
When a user types and sends a message, it’s immediately added to the conversation. The code appends the message to the chat history and displays it on the screen.
// Add a user message to the chat and save it
addMessageToUI("user", message);
chatHistory[currentChatId].messages.push({
  role: "user",
  content: message,
});
API Call to OpenRouter
The chatbot uses the OpenRouter API with the free model (deepseek/deepseek-r1:free) to get chat completions. A POST request is made with the conversation history, and the response is streamed back.
fetch("https://openrouter.ai/api/v1/chat/completions", {
  method: "POST",
  headers: {
    Authorization: `Bearer ${API_KEY}`,
    "Content-Type": "application/json",
  },
  body: JSON.stringify({
    model: "deepseek/deepseek-r1:free",
    messages: chatHistory[currentChatId].messages,
    stream: true,
  }),
});
2. Streaming Responses and Typing Effects
Incremental Response Display
The API response is streamed, meaning the assistant’s reply is received and displayed letter-by-letter. This simulates a real-time typing effect, making the conversation feel interactive.
function processBuffer() {
  if (typingBuffer.length > 0 && !stopGeneration) {
    accumulatedText += typingBuffer[0];
    typingBuffer = typingBuffer.slice(1);
    messageContent.innerHTML = getStableRendering(accumulatedText);
    setTimeout(processBuffer, typingSpeed);
  }
}
Stop Generation Option
A stop button allows users to halt the ongoing streaming process if they wish to interrupt the assistant’s reply.
3. Markdown Processing and Code Highlighting
Markdown Rendering
Incoming text is processed using the Marked.js library. This converts markdown (including headers, lists, and links) into HTML for proper display.
function processMarkdownContent(content) {
  return marked.parse(content);
}
Code Block Detection and Syntax Highlighting
The chatbot detects code blocks (demarcated by triple backticks) and renders them separately. It uses Highlight.js to apply syntax highlighting and even adds a copy-to-clipboard button.
// Code snippet for copy-to-clipboard on code blocks
copyButton.addEventListener("click", () => {
  navigator.clipboard.writeText(segment.content).then(() => {
    // Feedback on successful copy
  });
});
4. File Upload and Processing
File Upload
Users can upload files (images, text files, JSON, etc.). The file is read using the FileReader API and a preview is shown before it is sent as part of the conversation.
fileUploadInput.addEventListener("change", (event) => {
  const file = event.target.files[0];
  if (file) {
    pendingFile = file;
    displayPendingFilePreview(file);
  }
});
File Content Handling
Once a file is selected, its content is read (as a data URL for images or text for documents) and then integrated into the chat as a user message.
5. Chat History and Session Management
Local Storage of Chats
Each chat session is stored in the browser’s localStorage, allowing the conversation history to persist between sessions. New chats can be created, and old chats can be reloaded or cleared.
// Saving chat history to localStorage
localStorage.setItem("chatHistory", JSON.stringify(chatHistory));
Multiple Sessions
The chat history sidebar lets users switch between multiple conversations, delete or rename sessions, ensuring smooth session management.
6. Chat Export, Regeneration, and Options
Exporting Conversations
Users can export the current chat conversation as a Markdown file. The conversation (with messages from both the user and the assistant) is compiled into a text blob and downloaded.
const blob = new Blob([exportText], { type: "text/markdown" });
a.download = `${chat.title.replace(/[^\w\s]/gi, "")}.md`;
Regenerate Response
If the assistant’s last response isn’t satisfactory, the “regenerate response” functionality removes it and makes a new API call to get an updated reply.
Chat Options
Each chat history item comes with options (delete or rename) managed via a drop-down menu.
7. Additional Functionalities
Theme Toggling
Users can switch between light and dark modes. The selected theme is stored in localStorage, and the page’s class list is updated accordingly.
Auto-resizing Input
The textarea for user input automatically adjusts its height based on the amount of text, improving usability.
function autoResizeTextarea() {
  userInput.style.height = "auto";
  userInput.style.height = userInput.scrollHeight + "px";
}
8. Third Party Libraries and Services
OpenRouter API:
Used for generating chat completions via thedeepseek/deepseek-r1:freemodel.Marked.js: A Markdown parser that converts Markdown text into HTML.
Highlight.js: Provides syntax highlighting for code blocks within the conversation.
Font Awesome: Supplies icons used throughout the interface (e.g., for buttons and options).
CDN Services: Libraries such as Marked.js, Highlight.js, and Font Awesome are loaded via CDN (e.g., from cdnjs).
What would you like to add more in this chatbot? I have provided you the code, try enhancing and adding more functionalities.
Keep supporting, keep sharing, and let’s grow together! 🚀
📍 Find me on: LinkedIn | Medium | Bluesky | Hackernoon

Top comments (1)
I have added the link of video demonstration, and open source code. All you need is go to openrouter, search deepseek r1 free generate API and paste in that code, boom your frontend chatbot is ready.