
Contemporarily, the prevalent Architecture for building web applications is a client-server model. This makes it very easy to build, especially, JavaScript Applications by fetching data from a remote source or consume an API. It can either be Publicly available APIs or the ones you personally built using frameworks like Laravel.
Vue offers the flexibility to build applications using data fetched from any API and conveniently serve content to the users of your applications.
For the purpose of this tutorial, we are going to explore one of the publicly available API ICNDB. Its basically a database of chuck norris jokes on the internet. Fetching data from this API will give us an overview of how to successfully communicate with information from a remote source using Axios.
A basic understanding of the concept of Vue will be a plus in order to be able to follow along properly in this tutorial.
Making Ajax Request and Handling Responses
Handling Ajax request within a Vue application was previously made easy by using vue-resource, which has now been retired. This means any 3rd party libraries can be used for the purpose of making Ajax request, but as recommended by Evan, we will use Axios. Axios is a commendable promise-based HTTP client library that runs on both the client and the server.
Now that we are conversant with the tools and what we intend to build, let’s get right into it.
What we will Build
A sneak peek into what we will build in this tutorial.

Ready? Lets build it!
Set Up Application
Vue CLI will be used here to quickly set up the application. This command line interface(Vue-CLI) provides a means of rapidly generating a Single Page Application in no time, we will install it in a bit. Before installing vue-cli globally on your system, I assume that you already have Node and npm installed, if otherwise quickly download them here. Once you are done, you can verify Node and npm from the terminal with :
node -v

npm -v
Now install Vue-CLI :
npm install -g vue-cli
Having installed the CLI, vue command becomes available for scaffolding our application. Lets use it to create a project for this tutorial
vue init webpack-simple vue-axios
We used webpack-simple template instead of starting out with a blank page.
Next, change directory into the newly created project and install all the dependencies.
cd vue-axios

npm install
This might take few minutes to get all the necessary files installed, once the process is completed, start the application with :
npm run dev
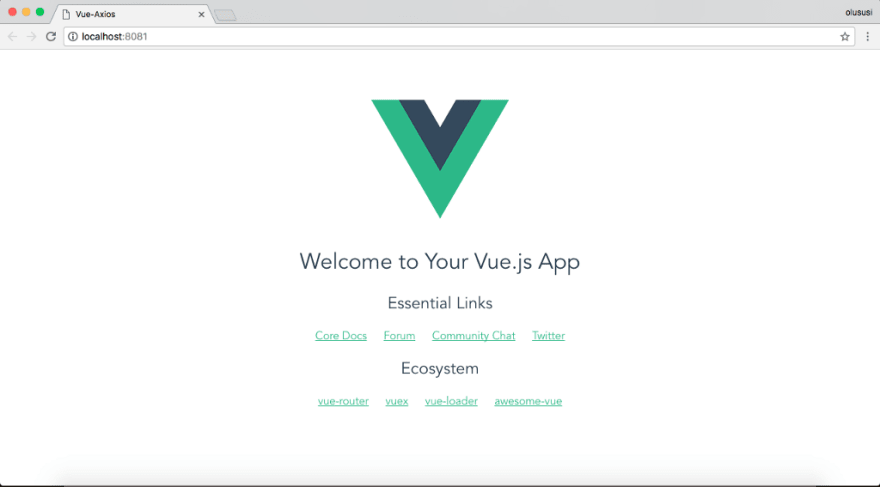
This will start the application on your default browser on port 8080, as shown below :
Install Axios
One of the main objective of this tutorial is to learn how to seamlessly use axios in our application. Lets install it using npm :
npm install axios --save
Axios will be installed and save into the package.json file in our application.
Now that the necessary dependencies and tools have been installed. We will then build a component that will be used to make the API call described earlier and also render the fetched contents. Using Vue-CLI to scaffold an application will also generate a default component ./src/App.vue Open this file and clear the contents in there
<template>

<div id="app">
...

</div>

</template>

<script>

export default {

name: 'app',

data () {

return {

}

}

}

</script>

<style>

</style>
This will result in an empty page if you check your browser now. Let the filling commence.
<template>
  <div id="app">
    <header>
      <span>Handling Ajax Request with Axios in Vue</span>
    </header>
    <main>
        <h2>Click the button to get Random jokes</h2>
        <button id="btn" class="" v-on:click="getJokes">Get Jokes</button>

        <div v-if="loading">
          <img src="../src/assets/loader.gif"/>
          Loading.....
        </div>

      <div class="wrapper">
        ...
      </div>
    </main>
  </div>
</template>

<script>
...
</script>

<style>
...
</style>
So far, within this file, we have added a header in order to display the title of the application. And within the '<main></main>' tag, we have a button that will call a function 'getJokes()’ once clicked. This function will be defined very soon.
Furthermore, we added a loader image that will be displayed once API call is initiated. This loader image will be hidden once our content has been received from the remote source.
Next we will set up the script to make the calls, loop through the data within our component in order to display the results and then add a little bit of styling.
Edit the 'App.vue' file :
<template>
...
</template>

<script>
  import axios from 'axios';

export default {
  name: 'app',
  data () {
    return {
      jokes: [],
      loading: false
    }
  },
  methods: {
    getJokes: function () {
      this.loading = true;
      axios.get("http://api.icndb.com/jokes/random/10")
      .then((response) => {
        this.loading = false;
        this.jokes = response.data.value;
      }, (error) => {
        this.loading = false;
      })
    }
  },
}
</script>

<style>
...
</style>
First of all, we imported axios into our component as we already have it installed. Then we setup the 'getJokes()' function and make API to 'http://api.icndb.com/jokes/random/10', this will return 10 random jokes to be rendered. And lastly, we also set a condition for loading and hiding the image loader.
To view the content from our API calls, lets go back to the our component and set up the view:
<template>
  <div id="app">
        ...
        <div v-if="loading">
          ...
        </div>

      <div class="wrapper">
        <div class="row">
          <div v-for="joke in jokes" :key="joke.id">
          <div class="col-md-4 cards">
             <img src="https://placeimg.com/300/300/nature" class="img-responsive" alt="Random images placeholder">
            <div>
              <h3>{{ joke.id }}</h3>
              <p>{{ joke.joke }}</p>
              <p>{{ joke.category }}</p>
            </div>
          </div>
        </div>
        </div>
      </div>
    </main>
  </div>
</template>

<script>
...
</script>

<style>
...
</style>
Here, we used the v-for directive to render a list of items based on the array fetched from the API.
In addition to the bootstrap framework used to style the application, we will also add a little bit of custom style :
<template>
  ...
</template>

<script>
   ...
</script>

<style>
  body {
  margin: 0;
}

#app {
  font-family: 'Avenir', Helvetica, Arial, sans-serif;
  -webkit-font-smoothing: antialiased;
  -moz-osx-font-smoothing: grayscale;
  color: #2c3e50;
}

main {
  text-align: center;
  margin-top: 40px;
}

header {
  margin: 0;
  height: 56px;
  padding: 0 16px 0 24px;
  background-color: #35495E;
  color: #ffffff;
}

header span {
  display: block;
  position: relative;
  font-size: 20px;
  line-height: 1;
  letter-spacing: .02em;
  font-weight: 400;
  box-sizing: border-box;
  padding-top: 16px;
}

button {
  background: #51B767;
  color: #ffffff;
  padding: 15px;
  border-radius: 0;
  font-weight: bold;
  font-size: 15px;
  border: 0;
}

.cards {
  background: #F5F5F5;
  height:400px;
}
 .cards:hover {
  transform: translateY(-0.5em);
  background: #EBEBEB;
}

.cards {
   column-count: 1;
  column-gap: 1em;
    margin-top: 70px;

}
</style>
Download the loader image loader.gif from here.
And refresh your browser :

And don’t forget to include the link tag for bootstrap in the application’s index.html file.
<link rel="stylesheet" href="https://maxcdn.bootstrapcdn.com/bootstrap/3.3.7/css/bootstrap.min.css">
By now, your page should look properly aligned

Conclusion
In this post, we have only used Axios to make a GET request and obtain contents from an API. Axios is powerful enough to handle other HTTP request methods such as POST, PUT, PATCH and DELETE anywhere in our application. Feel free to improve on this and if you found this post useful, show some love with claps. The code can also be found on github.

Top comments (1)
please also do the other requests youre tutorials are great heap