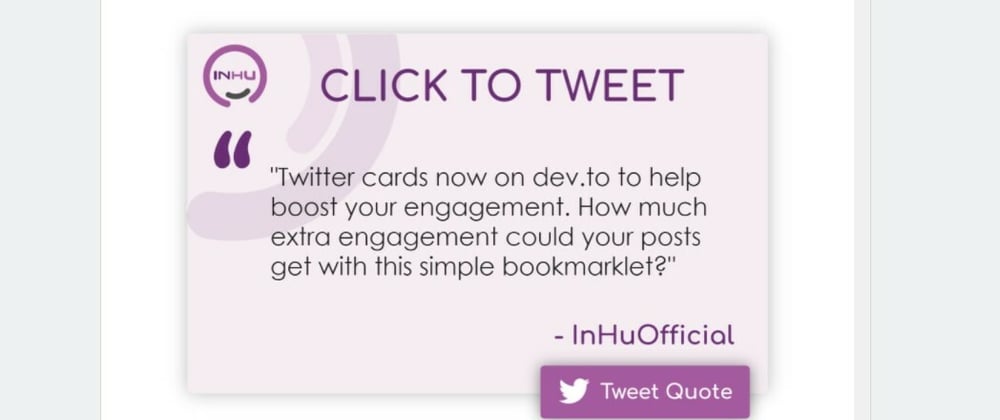
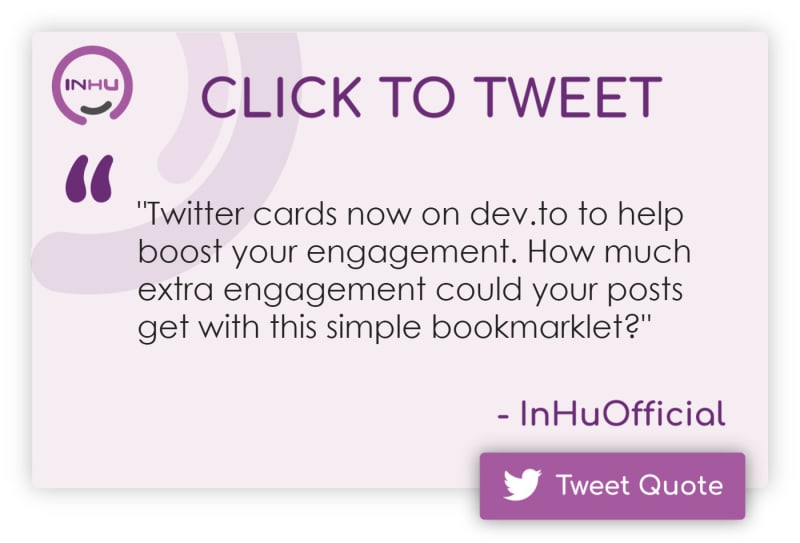
What did I build? A generator that creates all of the imagery and Markdown required to create a button like this (go on, click it, but be sure to come back after):
In this article I will cover why I built it and an overview of how it works (along with all the code required so you can adapt it to your styling / needs)!
Introduction
I was recently thinking about how low my share rate on twitter is for my dev.to articles.
Now it could just be that I write rubbish articles that nobody wants to share...but I would hope that isn't the case!
After some thought I realised that because the share buttons are hidden away people might not get the prompt they need to share to social media and instead just rely on hearts, unicorns and comments.
Don't get me wrong, I am appreciative of every heart, unicorn and comment, but if I want my articles to go viral I need the power of social media as well!
It had me thinking and I realised that one thing that a lot of sites use to increase social media sharing is a "click to tweet" button.
We can link this to a piece of content within an article that would make a good quote and let people post effortlessly.
So I set about coming up with a way to make that work on dev.to
Creating a click to tweet button for dev.to
First thing was first, I couldn't use JavaScript on the page, so I had to prebuild my click to tweet button in Markdown that results in standard HTML elements.
The second issue was that I am lazy and don't want to have to copy URLs etc. in order to create the button, I just want to be able to select some text in my article and have it all done for me.
The third issue was that I wanted something more than just a boring hyperlink, I wanted something that would stand out within my articles.
Creating the markdown
I decided that the best way to achieve my end goal would be a custom image with the quoted text within it. I would then wrap that image in a hyperlink in order to make the "button" function.
The url for the hyperlink would be a "tweet intent" URL - more on that in a little bit.
The markdown to create that is along the lines of:
//create a link
[link content / text / image](link URL)
//create an image

//nesting the image within the link
[](<tweet-intent-url>)
So immediately I realised that I need to generate 3 things:
- The image itself with the quote text within it
- The alt text - it should read
Click to tweet: <quote text>, this way people who use a screen reader will get the same information so they know what the hyperlink is for. - The tweet intent URL - this is a URL in a certain format that twitter understands so that we pre-populate the twitter card for somebody.
Creating the background image
I fired up illustrator, fiddled around for a bit and came up with a nice image to contain my quote text:
By adding a fake button to the bottom and giving it a subtle shadow it meant that it both stood out and drew attention to the fact that an action can be performed.
Then I just uploaded the image to my server so that I could reference it when I needed it.
The Alt Text
This was really simple, once I had the quote text I just had to build a string that read "Click to Tweet: [the text used in the image]". I then stored this in a variable for later use.
The tweet intent URL
This is also straight forward.
A tweet intent URL is in the format:
twitter.com/intent/tweet?url=article-url&text=uri-encoded-tweet-text
The only thing I had to remember to do was use encodeURI on the quote text.
The hard parts
All seems easy so far?
Now comes the fun part. I had to find a way to grab the selected text in the editor, create the image on the fly with word wrapping etc, find a way of uploading the image to dev.to, grab the URL of the image and then put that URL into our markdown we designed earlier.
Now the astute among you may notice something here. I am interacting with a page that I do not control!
Bookmarklets to the rescue
Luckily there is an easy cheat for this - something called Bookmarklets (I wrote about them before in my dev.to WYSIWYG article)
Essentially we host a script on a server we control, then create a browser bookmark that inserts that script into a page.
This can be done by:
- creating a bookmark and giving it a name.
- Editing that bookmark and replacing the URL with the code to load our script.
If you want to do this yourself with a script of your own here is the code to replace the URL with:
javascript:(function (){document.getElementsByTagName('head')[0].appendChild(document.createElement('script')).src='<full-url-of-your-script>?'+Math.random();}());
Just replace the <full-url-of-your-script> part with the URL of your script!
Now that we have a way of running a custom script we can tackle some other issues:
Adding the text to the image
Adding text to the image would be straight forward using <canvas> if it wasn't for one thing....text wrapping.
So we have to add a function that calculates where the line breaks should be on any text that is too wide to fit.
function getLines(ctx, text, maxWidth) {
    var words = text.split(" ");
    var lines = [];
    var currentLine = words[0];

    for (var i = 1; i < words.length; i++) {
        var word = words[i];
        var width = ctx.measureText(currentLine + " " + word).width;
        if (width < maxWidth) {
            currentLine += " " + word;
        } else {
            lines.push(currentLine);
            currentLine = word;
        }
    }
    lines.push(currentLine);
    return lines;
}
We pass in the 2d context of the canvas, the text we want to add and the maximum width of our text area.
This then works out where the line breaks should be and returns an array of all the lines for us to add later.
The important thing about this function is that it will use the current font size set on the canvas, so make sure you set that first with ctx.font = "XXpx Font Family".
Uploading the final image to dev.to
This is actually quite simple once you understand how they do it.
There is a variable window.csrfToken that you need to post to the endpoint https://dev.to/image_uploads, along with your image data.
One big "gotchya" I had here was I was converting the canvas to an image and trying to upload it. I kept getting a 422 error.
This is because that endpoint is expecting an image to be sent via a file input. As such it expects our image to have a file name.
To fix this was simple (once I worked out what the problem was), we just pass a third parameter to our formData entry:
let formData = new FormData();
// the third parameter allows us to give a name to our image
formData.append("image", image, "myImage.jpg");
Putting it all together
As with any of these experiments of mine it is a whole load of spaghetti! I build a bit, hack a bit in, change a bit, take shortcuts etc.
At the end of the day it gets the job done.
But hopefully the naming makes it clear enough what is done when.
If you want any particular part explaining just let me know in the comments.
function init(config) {
var canvas = document.createElement('canvas');
canvas.width = 1400;
canvas.height = 950;
document.querySelector('main').appendChild(canvas);
config = config || [];
config.userName = config.userName || "InHuOfficial";
config.backgroundImageURL = config.backgroundImageURL || 'https://inhu.co/dev_to/experiments/click-to-tweet/background-click-to-tweet.jpg';
config.quoteText = config.quoteText || "Standard Text if you don't select anything";
config.articleURL = config.articleURL || "https://dev.to/inhuofficial/click-to-tweet-a-great-way-to-increase-traffic-generator-for-dev-to-5h49";
config.fontSize = config.fontSize || 44;
config.fontFamily = config.fontFamily || "Century Gothic";
config.lineHeightAdjust = config.lineHeightAdjust || 1.2;
config.lineHeight = config.lineHeight || config.fontSize * config.lineHeightAdjust;
config.url = config.url || "https://twitter.com/intent/tweet?url=";
config.textX = config.textX || 240;
config.textY = config.textY || 340;
config.textMaxWidth = config.textMaxWidth || 1040;
config.textMaxHeight = config.textMaxHeight || 370;
config.textMaxCharCount = config.textMaxCharCount || 320;
config.canvasIdentifier = config.canvasIdentifier || "canvas";
config.canvas = document.querySelector(config.canvasIdentifier);
config.ctx = config.canvas.getContext('2d');
config.width = config.width || config.canvas.width;
config.height = config.height || config.canvas.height;
config.adjustFontSize = config.adjustFontSize || true;
config.textAreaName = 'article_body_markdown';
config.textArea = document.querySelector('#' + config.textAreaName);
config.grabCurrentURL = config.grabCurrentURL || true;
return config;
}
var c = init();
var image = new Image();
make_bg();
function make_bg()
{
var selectedText = getSelectedText();
if (selectedText.length > 0) {
c.quoteText = '"' + selectedText + '"';
}
var charCount = c.quoteText.length + c.articleURL.length + c.userName.length + 10;
if (charCount > c.textMaxCharCount) {
alert("max character count exceeded by " + (charCount - c.textMaxCharCount) + " characters");
return;
}
c.ctx.save();
c.ctx.clearRect(0, 0, c.width, c.height);
base_image = new Image();
base_image.crossOrigin = '*';
base_image.src = c.backgroundImageURL;
base_image.onload = function () {
console.log("drawing");
c.ctx.drawImage(base_image, 0, 0, c.width, c.height);
draw();
}
}
function calcFontSize(quoteText) {
if (quoteText.length < 100) {
return c.fontSize * 1.5;
}
if (quoteText.length < 200) {
return c.fontSize * 1.25;
}
return c.fontSize;
}
function draw() {
if (c.adjustFontSize) {
c.fontSize = calcFontSize(c.quoteText);
c.lineHeight = c.fontSize * c.lineHeightAdjust;
}
if (c.grabCurrentURL) {
c.articleURL = window.location.href.replace("/edit", "");
}
c.ctx.font = c.fontSize + 'px ' + c.fontFamily;
var lines = getLines(c.ctx, c.quoteText, c.textMaxWidth);
c.linesHeightTotal = lines.length * c.lineHeight;
c.ctx.fillStyle = "#222222";
c.ctx.textAlign = "start";
c.ctx.font = c.fontSize + 'px ' + c.fontFamily;
var y = c.textY + (c.textMaxHeight / 2) - (c.linesHeightTotal / 2);
for (a = 0; a < lines.length; a++) {
c.ctx.fillText(lines[a], c.textX, y);
y += c.lineHeight;
}
c.ctx.restore();
image.crossOrigin = '*';
c.canvas.toBlob(function (img) {
image = img;
uploadImage();
}, 'image/jpg');
}
function getLines(ctx, text, maxWidth) {
var words = text.split(" ");
var lines = [];
var currentLine = words[0];
for (var i = 1; i < words.length; i++) {
var word = words[i];
var width = ctx.measureText(currentLine + " " + word).width;
if (width < maxWidth) {
currentLine += " " + word;
} else {
lines.push(currentLine);
currentLine = word;
}
}
lines.push(currentLine);
return lines;
}
function getSelectedText() {
var start = c.textArea.selectionStart;
var finish = c.textArea.selectionEnd;
return c.textArea.value.substring(start, finish);
}
function copyToClipboard(str) {
var el = document.createElement('textarea');
el.value = str;
el.setAttribute('readonly', '');
el.style.position = 'absolute';
el.style.left = '-9999px';
document.body.appendChild(el);
el.select();
document.execCommand('copy');
document.body.removeChild(el);
}
function uploadImage() {
let auth_token = window.csrfToken;
let formData = new FormData();
formData.append("image", image, "myImage.jpg");
formData.append("authenticity_token", auth_token);
fetch('https://dev.to/image_uploads', {method: 'POST', body: formData})
.then(function (response) {
return response.json();
})
.then(function (json) {
if (json.length !== 0) {
c.url = c.url + c.articleURL;
c.url = c.url + "&text=";
c.url = c.url + encodeURI(c.quoteText + " - @" + c.userName + " ");
var markdown = "[](" + c.url + ")";
copyToClipboard(markdown);
alert("copied to clipboard");
}
})
.catch(function (err) {
alert("something went wrong!");
console.log("error", err);
});
};
If you want to use it yourself the init function can have a load of parameters passed to it to customise the output.
I would probably suggest you use it for inspiration and write your own version if you want to use it yourself!
OK so what does an end quote card look like?
So here it is, the final "click to tweet button" in all its glory!
Now I just need something for you to tweet:
"Twitter cards now on dev.to to help boost your engagement. How much extra engagement could your posts get with this simple bookmarklet?"
Ok that is pretty cool, how do I get it to work then?
A few simple steps (looks like a lot but they are all reasonably straight forward):-
- Create and upload a background image to your domain and note down the path.
- If using apache, create a
.htaccessfile in the same folder as your image that has the lineHeader set Access-Control-Allow-Origin "*". Same principle for other environments. -
Copy the code to a
.jsfile. - Make any changes to the "config" section that match your needs (or create your own config
yourConfigand adjust the line the 38th line tovar c = init(yourConfig); - Don't forget to change the path to your background image you created
config.backgroundImageURLand set theconfig.userNameto your dev.to username as a bear minimum. - Upload the modified config to your domain and not down the script path.
- Note down the full URL of the file.
- Create a bookmark with a name that makes sense to you, don't worry about the page you create it on yet.
-
Edit that bookmark and enter the following code (replacing the
<full-url-of-your-script>with the path to your modified script:
javascript:(function (){document.getElementsByTagName('head')[0].appendChild(document.createElement('script')).src='<full-url-of-your-script>?'+Math.random();}());
Phew, all done! Now the fun part!
Actually using the bookmarklet!
- Create your article and get it ready for publishing
- Publish your article, immediately edit it. (unfortunately the URL changes from drafts so you have to publish then quickly edit).
- Find the text you want to create a quote from, select it.
- Click on your bookmarklet.
- An alert will show after a short while (if you have done everything correctly) saying "copied to clipboard".
- place your cursor where you want your "click to tweet" and paste!
Conclusion
Yeah I doubt many people will actually use this bookmarklet, but I thought I would give you the option.
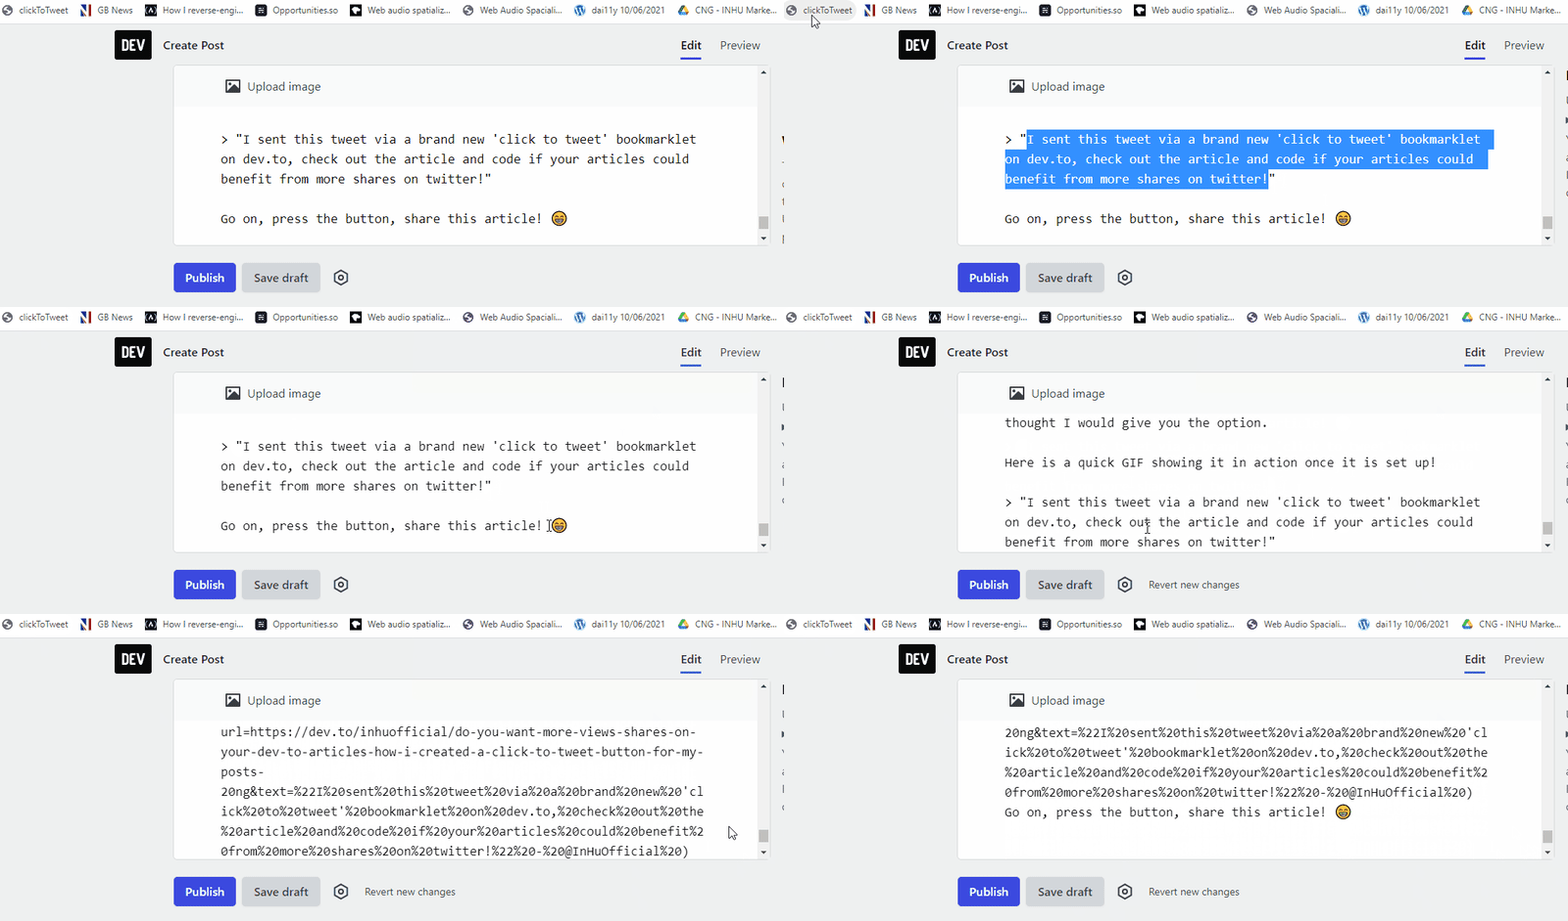
Here is a quick GIF showing it in action once it is set up!
Go on, try it out!
I converted the following quote into a click to tweet button:
"I sent this tweet via a brand new 'click to tweet' bookmarklet on dev.to, check out the article and code if your articles could benefit from more shares on twitter!"
Go on, press the button, share this article! 😁


Top comments (4)
It's been a while, but still... why
config = config || [];in the init function? Don't you needconfig = config || {};? Probably a typo.Yeah I know the instructions are long winded but I promise it is actually quite easy once you understand my weird way of working!
Let me know if you actually use the button! 😋
And for those of you who follow me - this could make its way into the dev.to WYSIWYG I have been working on, so that should make it easier as all the config will be done in that (and use standard templates so you don't have to create your own!)
This is good. Thanks for explaining!
No problem at all, I hope you adapt it to your own needs / use it for inspiration!