Why object files and material files together.
Object files and material files are both wavefront technology formats which are designed to work in combination.
I have described the basics of object files as a standalone file in part 8 of this series.
When combined with material files the object file contains a line detailing the name of the material file which starts with “mtllib”

and the faces are grouped by material, with each group starting with “usemtl” and the name of the material to use.

Modifications to the existing object file parser.
The first change will be to update the faceMap to include a material name as well as the vertex, UV and normal indices.

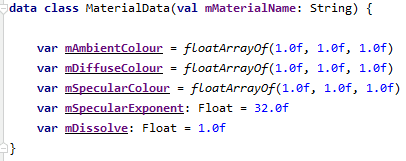
Next, we need something to hold all the material data, for this, I generated a data class MaterialData.
I then generated a function parseMtlFile which takes in a BufferedReader and parses the file to populate a hash map with the material names as the keys and a MaterialData classes as the value.

When the object file specifies a material file to use, I take the file name and generate an InputStream which I use to create a BufferedReader and pass it to the parseMtlFile function.

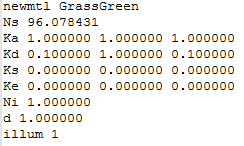
Taking a step back to detail the .mtl file format, each Material file can detail multiple materials, each material definition starts with a line with the word "newmtl" and the material name.
When we see a "newmtl" line we can generate a new MaterialData class and add it to the mMaterials hash map, I also store the material name so I can use it to populate the classes variables later.

Following the "newmtl" line there are the following lines which are of interest to us.
- Ns - This value defines the Specular exponent of the material.
- Ka - This value defines the Ambient colour of the material.
- Kd - This value defines the diffuse colour of the material.
- Ks - This value defines the specular colour of the material.
- d - This value defined the dissolve (transparency) of the material.
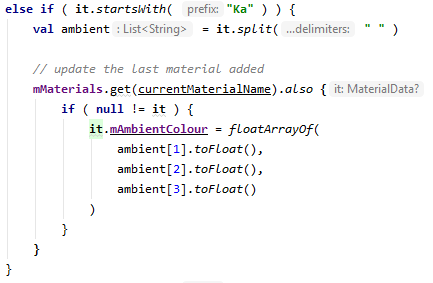
Parsing each of these lines, we can populate the MaterialData variables similar to this:
Parsing the faces with this new material data
Now that we have the material data we continue parsing the object file as before until we get to the faces.
Before each section of faces there is a "usemtl" line which we parse to determine which material name to use for the following faces.
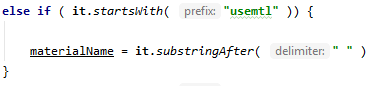
When I parse a face, I take this materialName and use it to get the material from the mMaterials hash map.

The remainder of the face parsing is the same as before except that for each new index, I also populate new FloatArrays for:
mFinalAmbientColourmFinalDiffuseColourmFinalSpecularColourmFinalSpecularExponentmFinalDissolve
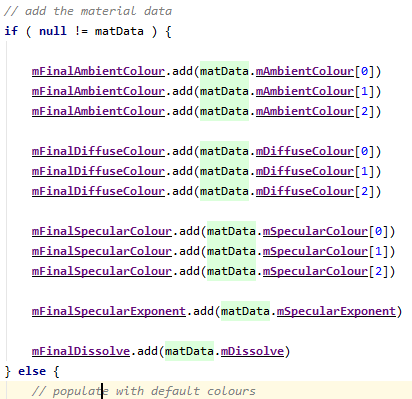
If the material is not in the mMaterials hash map for any reason then default values are used to populate the arrays.
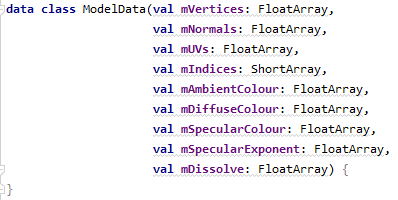
The new ModelData
To use all this new data I modified the ModelData class to be a Kotlin data class and include the new colour information.
Using the new data
Once we have the data, we need to update our shader code to use the values, this was pretty straight forward but did involve adding an attribute for each new value
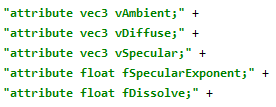
and then passing it to the Fragment shader to be used in the lighting calculations

I also added a uniform variable to the fragment shader to pass the light colour in rather than having it hard coded.
Finally, For each new attribute I generated a FloatBuffer which is populated with the new material data in the same way as the Vertices and normal data was populated and then passed to the shaders in the draw function in the same way as the vertices and normals.
Conclusions
I now have different coloured models in my game which looks better than the monocolour models that I had before.

The final code for this update can be found here.
Until next time....

Top comments (0)