
Welcome back, explorers! I hope you've enjoyed the journey through Azure Boards in our previous leg of the Azure DevOps series. Now, let's dive into another crucial service—Azure Repos.
Azure Repos is your gateway to efficient version control, and we're breaking it down into two exciting segments. In Part 1, we'll empower you with command-line prowess, unraveling the secrets of Git and Azure Repos operations. It's all about commanding your code!
Then, in Part 2, get ready to visualize, collaborate, and thrive as we explore the graphical wonders of Azure Repos. From GUI magic to additional options that streamline your workflow, we've got it all covered.
Azure Repos is a version control service that enables seamless collaboration, secure code management, and comprehensive tracking of your project's history. Let's embark on this journey together—Azure Repos awaits!
=================================================================
*Note: *
When you are doing practical work, don't delete anything because our Azure DevOps series relies on continuity between each part. Ensure that you are not cleaning your workspace. Additionally, don't worry about charges, as our account is on a free trial. We are covering beginners or basic Azure DevOps, so our project is not large. If a bill is generated, it will hardly exceed 100.
=================================================================
-> So, let's get started.
-> Azure Repos supports both Git and TFVC. The difference is straightforward: Git follows a 'Distributed VCS' model, while TFVC follows a 'Centralized VCS' model.
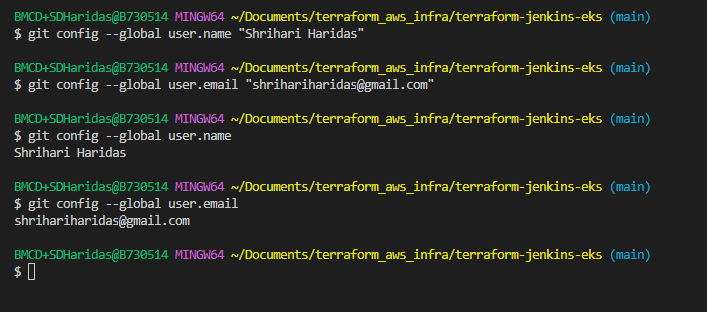
-> Let's begin! As a first step, configure Git in VS Code. Make sure to log in to Git using your Azure email account, enabling you to seamlessly push code to Azure Repos.
-> Switch to 'Git Bash' in VS Code.
-> Configure your credentials with the following command:
git config --global user.name ""
git config --global user.email ""
-> Next, open Azure DevOps and navigate to 'Parts Unlimited,' the project we configured in the last part.

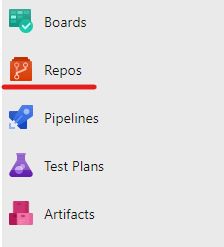
-> Then, navigate to the 'Repos' service.
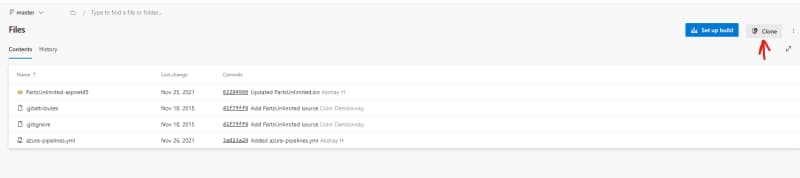
-> After opening the Repo, you will see the following window. Click on the 'Clone' option.
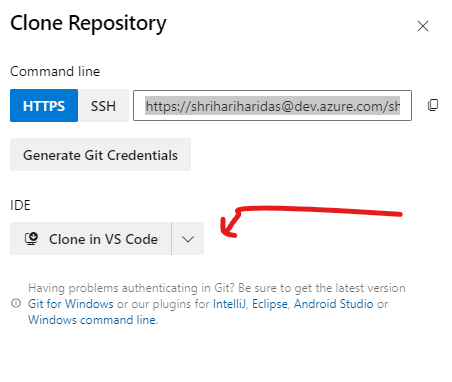
-> When you click on 'Clone,' you have two options: clone the code through SSH or directly open it in an IDE. I'm using 'VS Code' as my IDE.
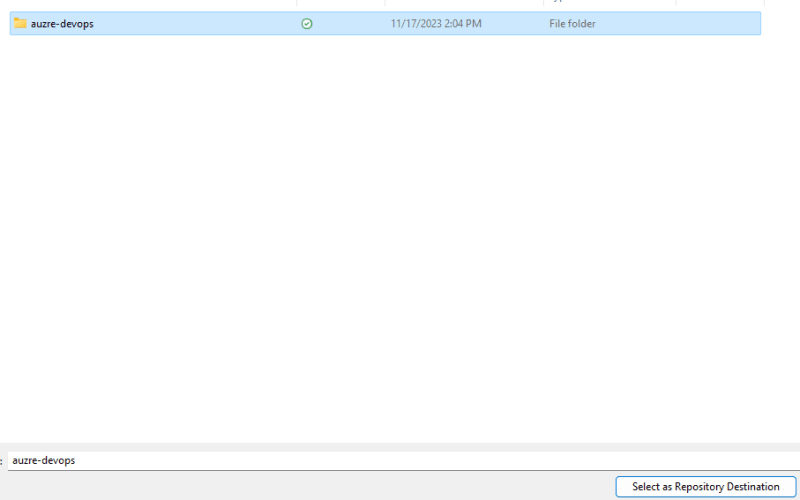
-> After opening it in 'VS Code,' it will prompt you to select a folder for the project. I will create one, but you can choose any folder according to your preference.
-> When you open it, Microsoft may ask for a one-time login. In my case, it didn't ask, but if prompted, simply log in with your credentials.
-> You can see that our project has been cloned successfully.
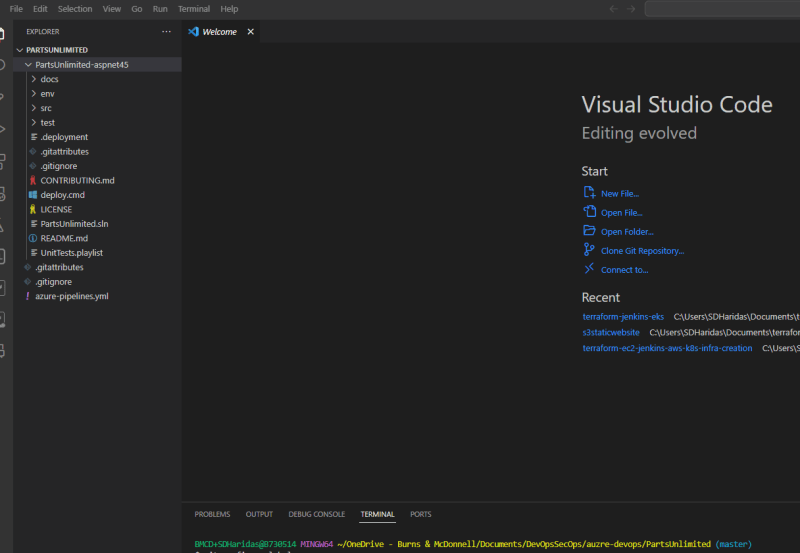
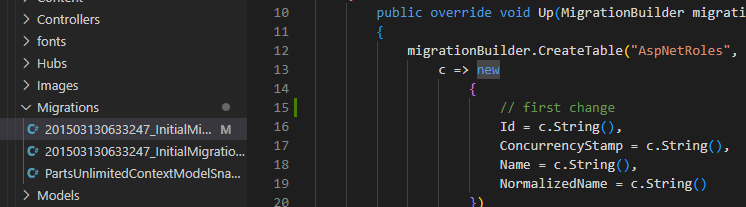
-> So, let's make some changes to the source code. I've modified one file by adding a comment. Now, we'll proceed to push or commit these changes to our 'Azure Repos.
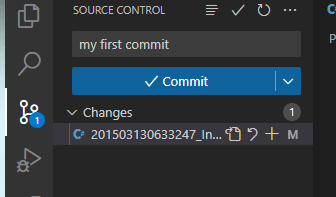
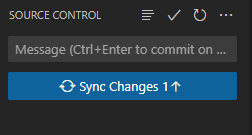
-> Next, click on the 'Version Control' option. You will see the 'Commit' window. Provide your commit message there and commit the changes.
-> Now, let's sync or push the changes to our repo. Just click on 'Sync Changes.
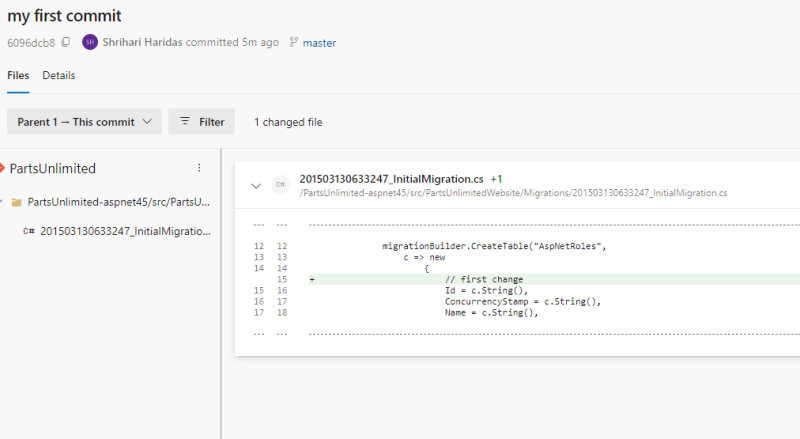
-> Open your Azure Repos again. You will see our first commit there. Open the 'Commits' window.

-> If you open that commit, you will see your changes there. Additionally, if something was added, it will be indicated with a '+' or shown in green, while deletions will show a '-' or appear in red.
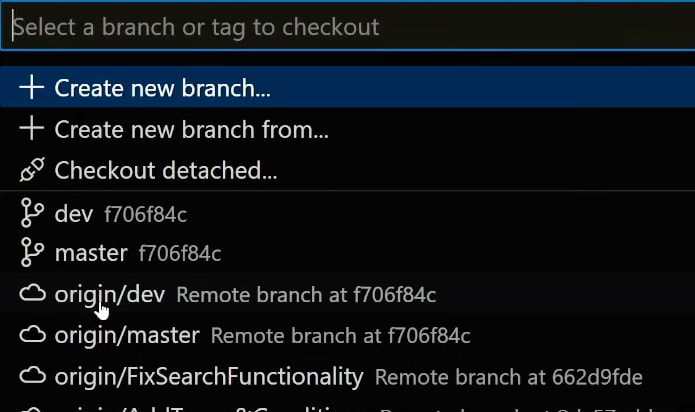
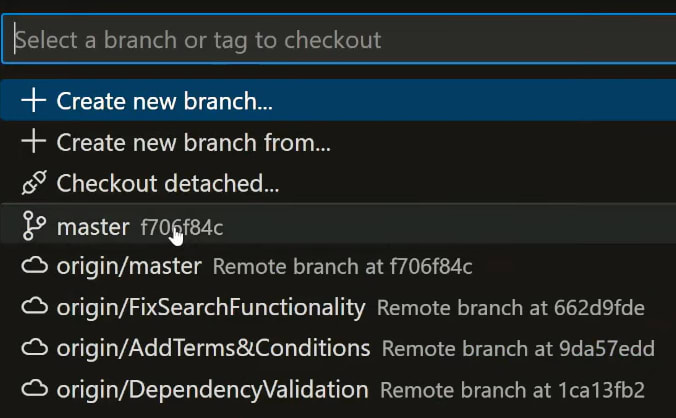
-> Now, let's create another branch to perform pull requests or merging operations. Go back to VS Code, make some changes but don't commit them. In the bottom left bar, you will see the 'Branch Name.' Click on that.
![]()
-> Now, you will see multiple options. There are two 'master' branches: one named 'Master' representing the remote master and the other 'origin/Master' representing the remote master branch. Select 'Local Master.
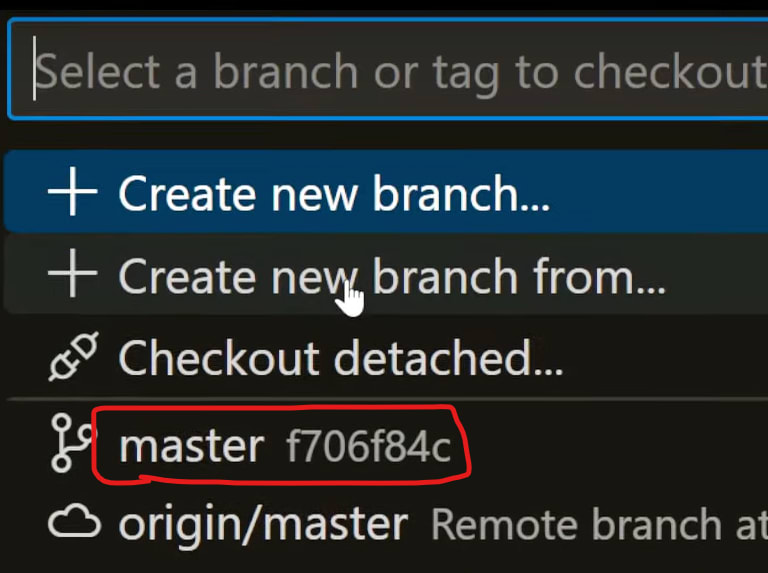
-> Then, give a name to your branch.

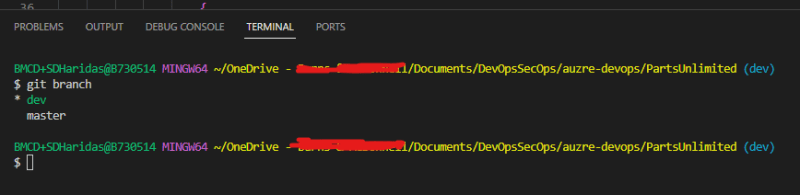
-> Check if the 'dev' branch is created and switched to.
-> Now, if you go to the 'Branches' option in Azure, you won't see the 'Dev' branch because we created it locally. Push it to the repository so that it appears there. Click on the icon below to sync.

-> Now, go to Azure and refresh the page. You will see the 'Dev' branch, and your name will be listed there.

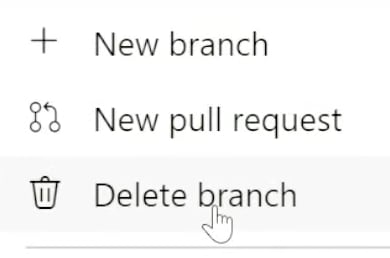
-> Now, let's delete it. For that, click on the three dots next to this particular branch, and choose the 'Delete Branch' option.
-> Now the branch has been deleted from Azure, but if you open VS Code, it's still there.
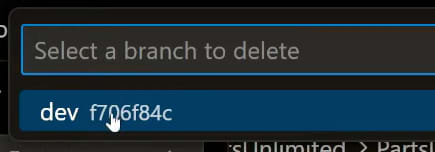
-> To delete it, open the command palette with 'Ctrl + Shift + P.' Before deletion, switch to your 'Local Master' branch. Then, in the command palette, search for 'git delete branch.' You will see the 'dev' branch; click on it, and it will be deleted.
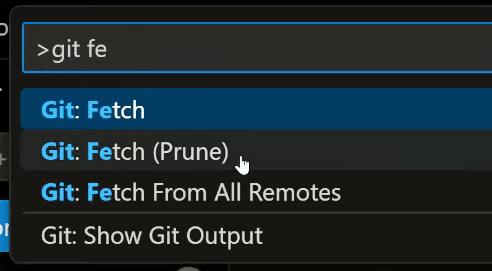
-> But you might still see the 'origin/dev' branch, i.e., the remote branch. To remove it, you need to 'Prune' the dev branch so that unused remote branches get deleted.

-> For that, again, use 'Ctrl + Shift + P,' search for 'git fetch (prune),
-> Now, check again, and you will see the branch has been deleted or removed locally.
=================================================================
Summary:
In this session, we configured Git in VS Code, cloned the project to Azure Repos, made changes, and even explored branch creation and deletion. For our next blog, get ready to delve into the visual wonders of Azure Repos GUI, where we'll enhance collaboration and streamline workflows. Stay tuned for a GUI extravaganza in Part 2!
=================================================================
If you have any doubts, questions, or recommendations, feel free to drop a comment. Follow me for updates and happy learning! :)

Top comments (0)