There are a lot of good tutorials on Lambda and CDK - most of them focus on deploying simple Python applications. But things aren't always simple in production, and making the leap from these simple Python applications to a production-grade one can leave a huge gap for devs who want to develop cloud-native applications.
In this post, we will address that gap by:
- Developing a simple Flask API application.
- Packaging our Flask API code into a zip file using Zappa.
- Deploying our zip file to Lambda via CDK.
The More than 'Hello World in X' (>HWIX) is a series in my blog that helps bridge the gap between getting your first "hello world" in a specific technology to using it in production. You can see my other >HWIX posts here:
0 | Concepts
I included a short introduction of the technologies we would use for this tutorial. To make the scope of this post more focused, I only explained the necessary parts from each technology for the topic discussed in this post. If you want to do a deep dive study on any of them, I included links to useful resources.
Flask
Flask is a lightweight Python framework you can use to develop web applications. I chose Flask because it is simple to install and easy to get into; plus, it is capable of supporting medium to large scale applications.
If you want to study Flask further, I recommend Miguel Grinberg's book.
Lambda Function
Lambda is a compute service from AWS that lets you run code without provisioning or managing servers. It lets you upload code in your chosen programming language. The code will only use up compute resources when it is running (unlike the traditional EC2 instance where you have to pay for the server even if it is not being used at the moment).
Lambda has a powerful set of features. It can be assigned an execution role to define what access it has in your AWS account while the function is executing. It can also be assigned a private IP in your VPC - allowing the Lambda function to access resources in your network like databases. For this post, we will only follow a simple use case of Lambda where we would execute code stored in Lambda.
Cloud Development Kit (CDK)
CloudFormation (CF) is a powerful AWS service that allows you to provision fully-configured networks with just a click of a button. However, building CF templates can be quite tricky since CF templates tend to be long and verbose. They specify each component in painstaking detail.
Enter Cloud Development Kit (CDK). CDK is a software development framework that allows you to code your infrastructure in your preferred programming language. Its simple syntax allows you to type less code to achieve the same effect as you would on a CF template. A great example I found in the DEV.to community is how Hoang Le's team was able to reduce 1000 lines of JSON Cloudformation code to just 50 lines of CDK code.
Under the hood, it works by translating your code into the long JSON syntax of CloudFormation. With this, you get the power of CloudFormation by using the developer-friendly syntax of CDK.
1 | Create our basic CDK
Before following through with the hands-on, I highly encourage you to take the official AWS Python workshop on CDK. It is easy to follow and provides a great explanation on how to deploy simple Python apps to Lambda.
(1.1) Install dependencies
To follow along this hands-on tutorial, you will need to install the following dependencies:
(1.1) Create our CDK project
Let's initialize your first CDK project. This command creates a basic directory structure and some files essential for CDK. For now, the only thing we need to know is the file in step 1.2.
mkdir cdk_flask_lambda && mkdir cdk_flask_lambda/lambda

cd cdk_flask_lambda
cdk init --language python
Doing cdk init creates a Python virtual environment in the directory. It has a basic CDK installation. Let's enter that virtual environment and install some more packages.
source .env/bin/activate

pip install aws-cdk.aws-lambda
pip install aws-cdk.aws-apigateway
(1.2) cdk_flask_lambda/cdk_flask_lambda_stack.py
This file defines the resources we will create for our CDK stack. This is the only file we need to know to create resources in our CDK stack.
In essence, CDK parses through our Python code and creates a CloudFormation (CF) template. The CF template is used to create a CF stack, which in turn, creates the AWS resources we specified in this file. If you want to see the CF template, type ZAPPA_LAMBDA_PACKAGE="" cdk synth. The ZAPPA_LAMBDA_PACKAGE variable is needed because it is used in the file (see the code below).
- The stack defines two AWS resources:
-
Lambda Function- The Python 3.7 source code that we would be uploading to AWS will be in the form of a zip file inside thelambda/directory. We will pass the name of our zip file via theZAPPA_LAMBDA_PACKAGEenvironment variable. I would explain later how we packaged our Python code.- We explicitly specified 15 secs for the timeout because sometimes 3 secs is not enough for the app to show the JSON message.
- The handler is set as
handler.lambda_handlerso it can point to Zappa's handler (which then points to our Flask App'sappobject). I will explain what Zappa is in Section 3, but essentially, it helps us package our Python code and its dependencies as zip objects we can readily upload to Lambda.
-
API Gateway- We defined an API Gateway so we can easily access out Lambda function in our web browser.
-
import os

from aws_cdk import (
    core,
    aws_lambda as _lambda,
    aws_apigateway as apigw,
)

class CdkFlaskLambdaStack(core.Stack):

    def __init__(self, scope: core.Construct, id: str, **kwargs) -> None:
        super().__init__(scope, id, **kwargs)

        flask_handler = _lambda.Function(
            self, 'FlaskHandler',
            runtime=_lambda.Runtime.PYTHON_3_7,
            code=_lambda.Code.asset('lambda/' + os.environ["ZAPPA_LAMBDA_PACKAGE"]),
            handler='handler.lambda_handler',
            timeout=core.Duration.seconds(15),
        )

        apigw.LambdaRestApi(
            self, 'Endpoint',
            handler=flask_handler,
        )
2 | Create the basic Flask API application
We will now build our Flask application. Usual tutorials in Flask deployments in Lambda cover just one Python file. In production systems, however, code is usually organized into different files across many directories. For this tutorial, that's exactly what we will do.
This section is loosely based on Miguel Grinberg's recommendation on his book Flask Web Development (2nd Ed.)
(2.1) lambda/main.py
- The main entry point of our application. It calls on the
create_app()function of the app module. - You can define in your
FLASK_CONFIGenvironment variable what environment you would like to run the application in (i.e production, test, dev)
import os
from app import create_app

app = create_app(os.getenv('FLASK_CONFIG') or 'default')
(2.2) lambda/config.py
- The
Configclass is where we define configurations common across all environments of our application. - The
DevelopmentConfig,TestingConfigandProductionConfigclasses are where we define the configuration that is unique to the environment. For example, you might not want to use the same SECRET variable across the same environments.
import os
basedir = os.path.abspath(os.path.dirname(__file__))

class Config:
    @staticmethod
    def init_app(app):
        pass

class DevelopmentConfig(Config):
    DEBUG = True

class TestingConfig(Config):
    TESTING = True

class ProductionConfig(Config):
    PROD = True

config = {
    'development': DevelopmentConfig,
    'testing': TestingConfig,
    'production': ProductionConfig,
    'default': DevelopmentConfig,
}
(2.3) lambda/app/__init__.py
- Our
create_app()function first creates out Flask application. Then, we load the configuration of the environment we have chosen. - To keep our code organized, we have organized parts of our code into packages. In Flask, we call these blueprints. They help us define subsystems inside our application. This is incredibly useful for developing large applications.
Since we would like to keep our code relatively simple (for now), we will register just one blueprint, the api_blueprint defined in the lambda/app/api directory
from config import config
from flask import Flask, render_template

def create_app(config_name):
    app = Flask(__name__)
    app.config.from_object(config[config_name])

    from .api import api as api_blueprint
    app.register_blueprint(api_blueprint)

    return app
(2.4) lambda/app/api/__init__.py
- This defines the
apiblueprint and imports the files necessary for the blueprint to function. We only need to import the filehome.pyfor now.
from flask import Blueprint

api = Blueprint('api', __name__)

from . import home
(2.5) lambda/app/api/home.py
- This is the meat of our flask application. We have two routes:
-
GET: /- returns a simple JSON -
POST: /post- a POST request to/postreturns the contents of your request back to you.
-
from flask import jsonify, request
from . import api
@api.route('/')
def home():
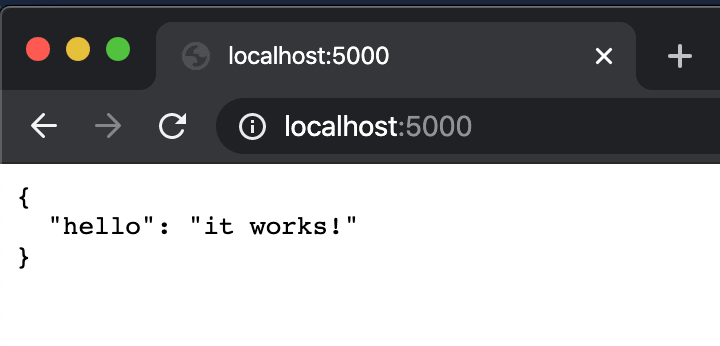
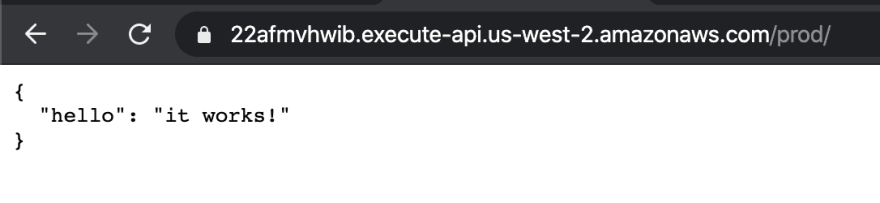
return jsonify({'hello': 'it works!'})
@api.route('/post', methods=['POST'])
def post():
print("print the request")
print(request.json)
return request.json
(2.6) Testing
(2.6.1) First, let's cd to our lambda/ directory.
Then, run deactivate to log out of the current Python virtual environment we are on. Use the commands below to start a new one. I prefer to start a new Python virtual environment so this Lambda application doesn't have to package the AWS CDK package (and any package we installed for the first virtual env). Imagine if we had to deploy 3 other Lambda functions, this arrangement makes it possible to isolate the Python packages we need for each and we get to have smaller deployment packages we would need to upload. After that, install Flask.
deactivate
cd lambda

python3 -m venv venv
source venv/bin/activate

pip install flask
(2.6.2) Then, let's run our Flask API application locally. In the environment variables, I explicitly state 'development' as our environment. I also point to main.py to tell Flask where to find the app object necessary in putting up the Flask application server. The FLASK_DEBUG=1 variable allows us to see debug messages as we develop.
export FLASK_CONFIG="development"
export FLASK_APP=main.py
export FLASK_DEBUG=1

flask run
Go to localhost:5000/ on your browser and you should see this.
(2.6.3) To test our POST route, install the httpie python utility with the pip command: pip install httpie. Then, on a separate terminal window, go to the virtual environment we created in 1.6.1 and issue a POST request via the command line.
python3 -m venv venv
source venv/bin/activate
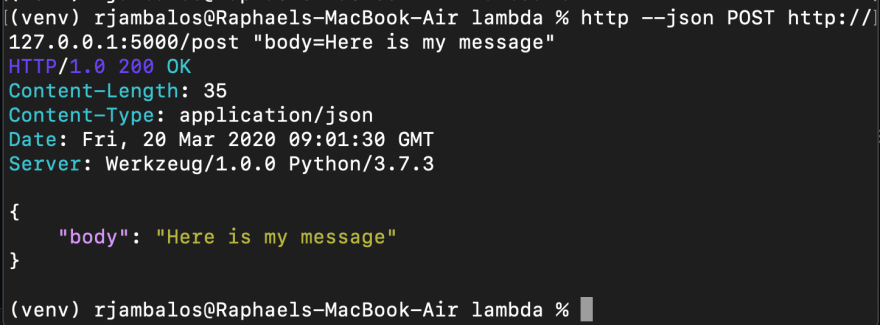
http --json POST http://127.0.0.1:5000/post "body=Here is my message"
You should see a response that is identical to your request.
(2.6.4) If you're satisfied with our initial Flask application, let's commit our progress.
But first, let's define a .gitignore to keep our environment clean.
*.swp
package-lock.json
.pytest_cache
*.egg-info

# Byte-compiled / optimized / DLL files
__pycache__/
*.py[cod]
*$py.class

# Environments
lambda/.env
lambda/venv
lambda/.venv
.env
.venv
env/
venv/
ENV/
env.bak/
venv.bak/

# CDK Context & Staging files
.cdk.staging/
cdk.out/
*.zip

.DS_Store
Now, let's commit our progress:
git add -p
git commit -m "Add the basic Flask API function"
With our Flask API done, our repository should have this directory structure.
cdk_flask_lambda/
    lambda/
        app/
            api/
                __init__.py
                home.py
        __init__.py
        main.py
        requirements.txt
    cdk_flask_lambda/
        __init__.py
        cdk_flask_lambda_stack.py
    app.py
    cdk.context.json
    cdk.json
    requirements.txt
    setup.py
    source.bat
3 | Package the Flask API code for deployment
(3.1) Package your code using Zappa
One of the hard things about deployments in Lambda is how to deploy Python dependencies. Thankfully, we have Zappa to automate generating a zip file that we can upload to Lambda.
After installing Zappa via pip, do zappa init. There, we would be prompted to answer questions about configuration. You can press enter to all of them except the question on "What's the modular path to your app's function?". For that, use 'main.app'. This allows Zappa to point to the app object of our Flask application.
pip install zappa
zappa init
ZAPPA_LAMBDA_PACKAGE="$(cut -d' ' -f3 <<< `zappa package dev | tail -n 1`)"
With this command, Zappa will generate a zip file and placed the name of the zip file on the variable ZAPPA_LAMBDA_PACKAGE.
(3.2) Use CDK to deploy the package on Lambda
Now, let's deactivate the second Python virtual environment and go back to the first one. Then, let's use the cdk deploy <app-name> command to deploy our Flask API on Lambda via CDK.
deactivate
cd ..
python3 -m venv .env
source .env/bin/activate
echo $ZAPPA_LAMBDA_PACKAGE
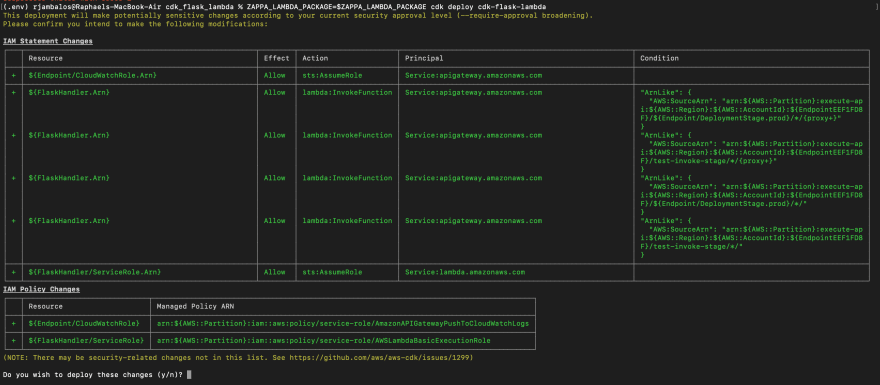
ZAPPA_LAMBDA_PACKAGE=$ZAPPA_LAMBDA_PACKAGE cdk deploy cdk-flask-lambda
You will see a prompt asking you to review the AWS resource your CDK package will deploy.
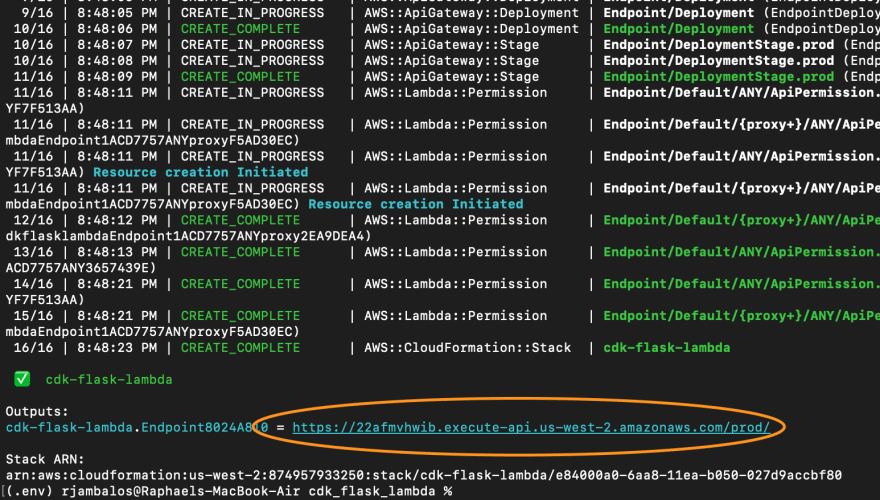
CloudFormation will take a few minutes to provision your environment. Once that is done, you will see the URL to the API Gateway. You can use this endpoint to access your Lambda function.
You can access your endpoint in the browser and you will see this familiar JSON response.
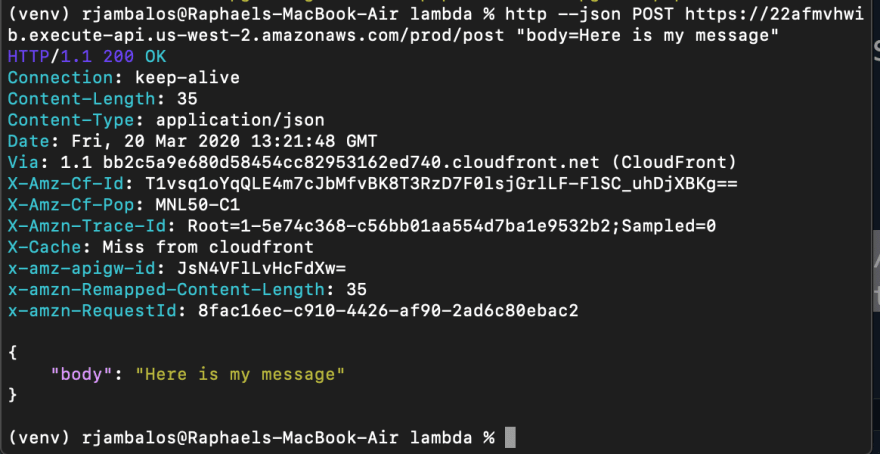
We can also check our POST route by going back to our second Python virtual environment and running httpie.
deactivate
cd lambda
source venv/bin/activate

http --json POST https://22afmvhwib.execute-api.us-west-2.amazonaws.com/prod/post "body=Here is my message"
We see that Lambda responded by returning our request to us:
That's all for now!
If you have any comments, suggestions or just want to let me know how this series has helped you, feel free to leave a comment below, or message me! I'd love to hear from you!
Special thanks to my editor, Allen, for making my posts more coherent.

Top comments (2)
great post Raphael! It really helped me with my projects.
I'd like to suggest and improvement, when generating the zappa package file you could use the "-o" flag to specify the output file name like this:
zappa package dev -o zappa_pkg.zip.
Please, how do i run this on windows:
ZAPPA_LAMBDA_PACKAGE=$ZAPPA_LAMBDA_PACKAGE cdk deploy cdk-flask-lambda