Welcome to part-2 of the series. In this part we will start by submitting the firefox extension, which we created in part-1.
You need to have a firefox account to publish addons to mozilla. Create one and login to any firefox browser.
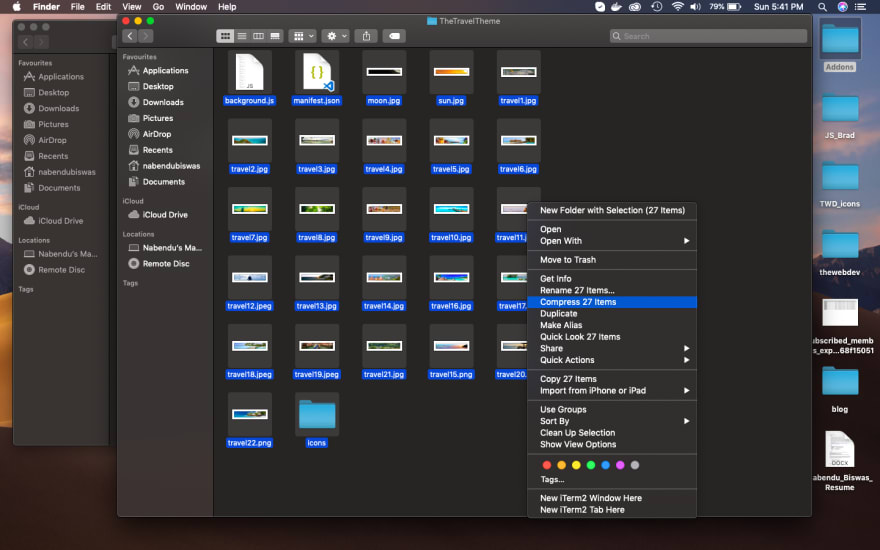
After that you have to first package your extension. You can find the details of different OS here. We need to go to our folder, where all of code and other files are and select all of them, and click on Compress.
Now, our zip file is ready and we can submit the addon. I am following instruction from this link.
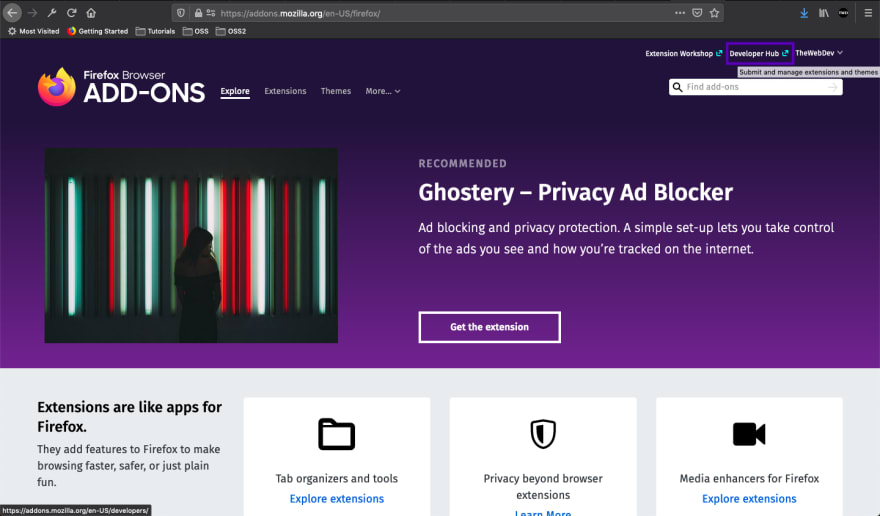
As per the instruction, we should go to the link https://addons.mozilla.org/en-US/firefox/ and click on Register or Log in button.
On the next screen, need to give some information and then click on Create My Profile.
After that we are been taken to the same addons screen, and we need to click on Developer Hub here.
On the next screen click on Submit Your First Add-on button.
After that we have to agree to two agreements and also check I’m not a robot checkbox. After that click on Accept button.
On the next screen click on On this site radio button and click Continue button.
On the next screen you will get to select the file. Click on Select a file.. button and select the zip file, which we had created at the start of this post.
Next, it will take some time to upload the zip file.
After that if there are no errors, you will get the below screen and the Continue button will be enabled.
In the next screen, we will be asked if your extension contains any of the below things like minifiers and webpack.
As, it doesn’t contains any of the above we can click on No radio button and then Continue button.
After that in the next page, we need to fill some information about the addon.
And then some more information and click on Submit Version button.
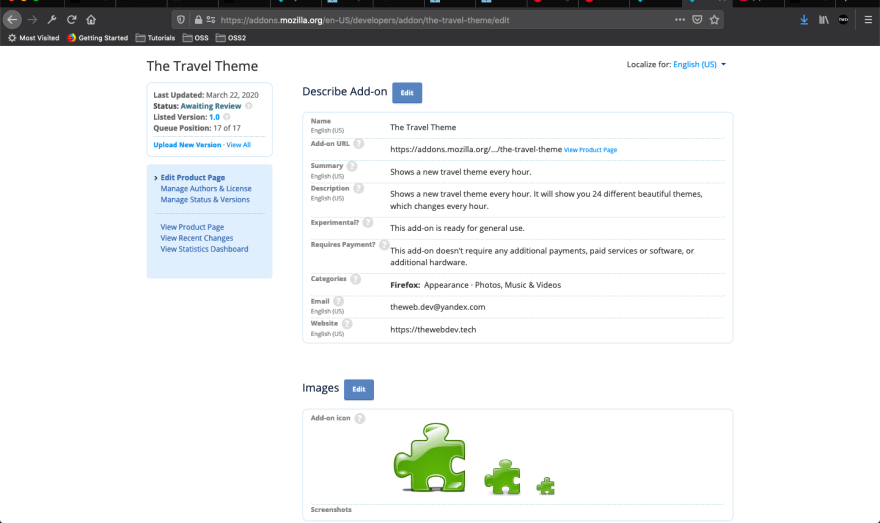
In the next Next screen, it will show our Addon have been submitted for review. We can click on the Manage Listing button and it will take us to below screen.
The only thing to add is the images, so once we click on Edit button next to the Images we will get below.
The icon which we had in the project can be used and need to give some screenshots.
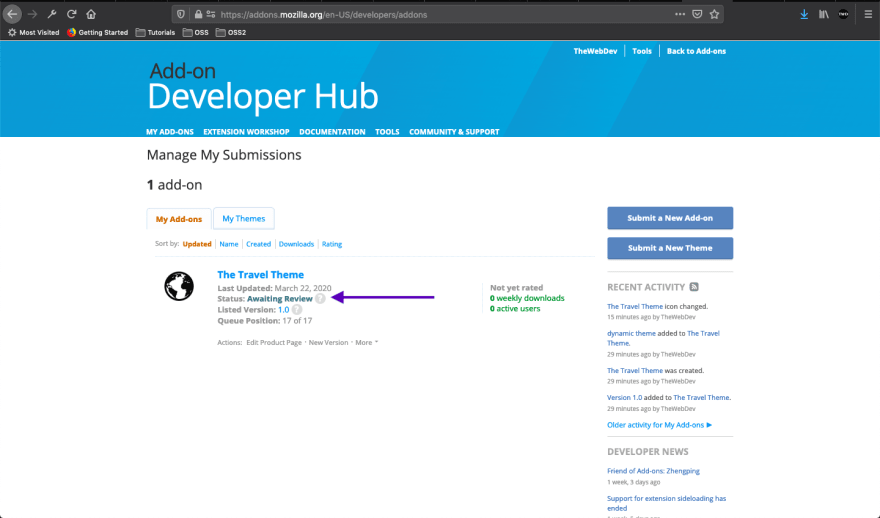
So, once you move to the Developer hub it will show Awaiting Review and it might take some time to be approved. Mozilla team will notify you by email once it is approved.
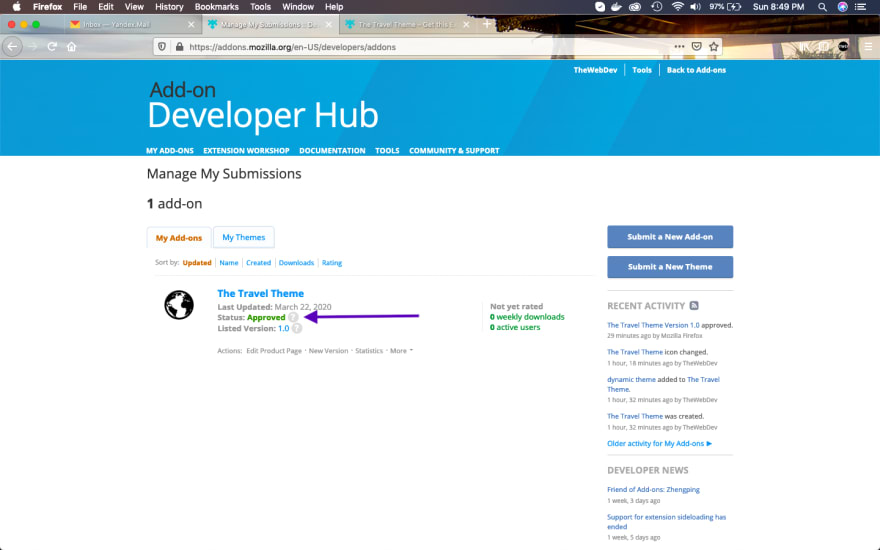
The extension got approved in 1 hour and the status got updated in Developer Hub.
Now anyone can goto the link https://addons.mozilla.org/en-US/firefox/addon/the-travel-theme/ and install the extension. I did install the extension and it is working fine.
Please show your love by installing the extension and more extensions are coming soon.
This completes part-2 of the series, which was basically the way to submit an extension for approval to addon site.










Top comments (0)