DAY 18 - AWS-Fargate - A Serverless Compute engine for containers- Day Eighteen
100 days of Cloud on GitHub - Read On iCTPro.co.nz - Read on Dev.to
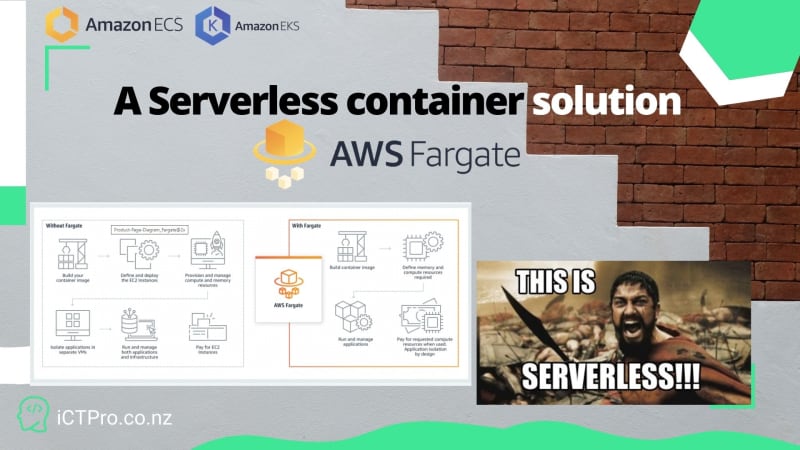
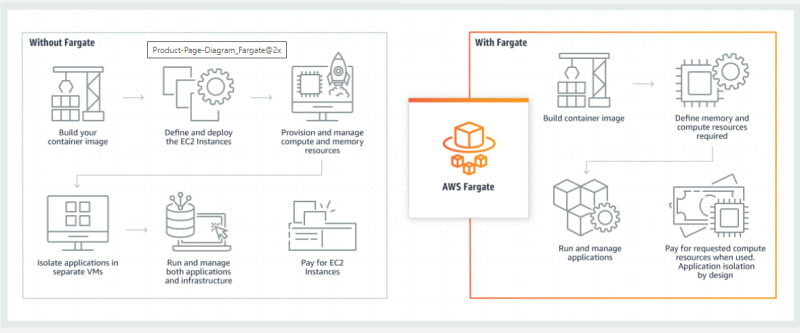
What if I say, you can deploy container images in the serverless environment in AWS without monitoring or Managing. Do not have to worry about nodes or components, just worry about VCPU and Vmemory for the container for one time.
You focus on what you are building and operating apps in Elastic container Services or Kubernetes Services. You won’t have the operational overhead of Scaling, Patching, securing, and Managing servers.
Fargate allows you from .25 to 4 VCPU to your individual container and from .5 to 8 GB of RAM. More flexibility in scaling. Fargate does not have natively build storage( persistence storage). You can attach EFS if you want for your container.
Let’s start with fargate.
We will configure an AWS VPC, create a cluster, create a task definition, create a container image, Deploy container for nginx server – Check out Pricing.
Tutorial
Prerequisite
AWS account
Administrative privileges for the user
A Container image from docker hub or your personal repo
Lets Deploy our first container with Fargate.
-
Step 1 – Create a Cluster
- Go to elastic container services from the AWS Menu

- Click on to Create a Cluster

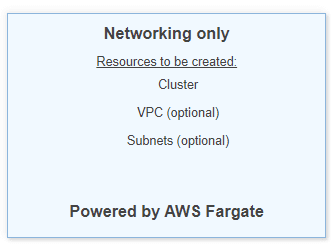
- Select Networking only and click Next step
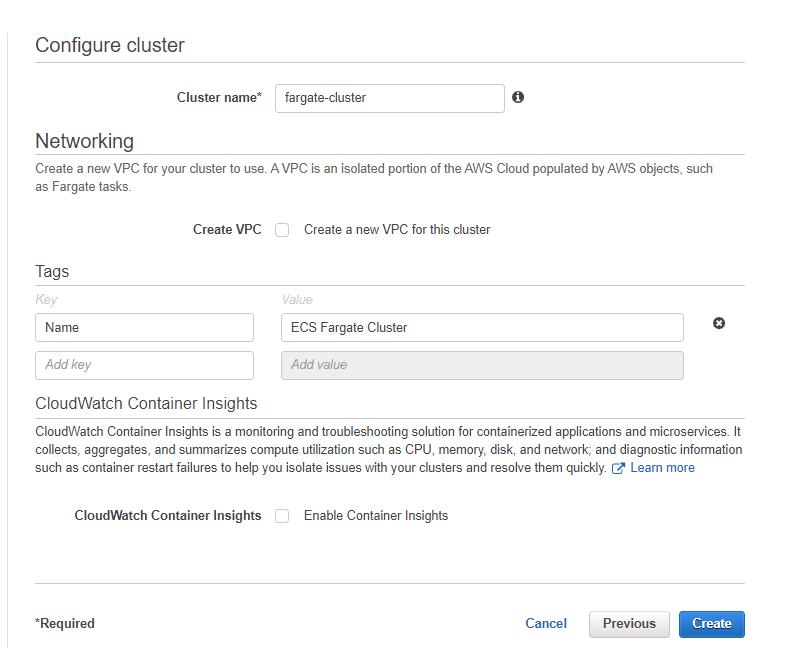
- Now Give a Name to Cluster – let’s name fargate-cluster for this demo. Also Giving a Tag Name will make the management easier in the future ( a good practice). Tick if you wish to see container insights with CloudWatch. Now Click Create.
- Now if click View Cluster you will be able to see your newly created cluster. If you are using an old dashboard click to Update Cluster or Click edit.
- Select Default capacity provider strategy as Fargate_Spot For this demo as this will be cheaper, Check the pricing model for more info. and click Update.

- Go to elastic container services from the AWS Menu
-
Step 2 Create a Task Definition.
- Task definition is different parameter used to deploy container for ECS.
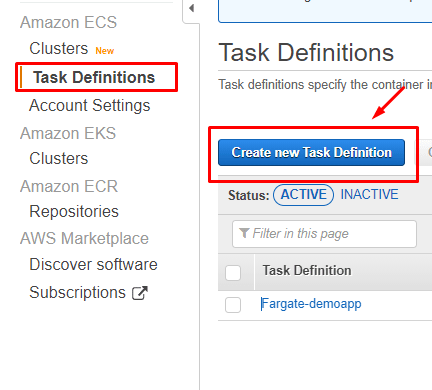
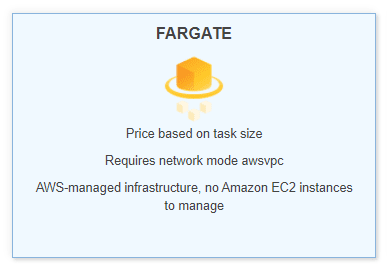
- Now Select Fargate & Click Next.
- Let’s Name the task definition as Nginx. You can give any name, it’s mainly for your reference
- Task Role – Optional IAM role that tasks can use to make API requests to authorized AWS services. Create an Amazon Elastic Container Service Task Role in the IAM Console.
- Task Execution Role – Click to Create a New Role if you don’t have one already.
- Now Let’s define the – Task Memory , we will select .5 for the demo & .25 VPC for the Task CPU.
- Click to Add container, we are going to add a basic container image
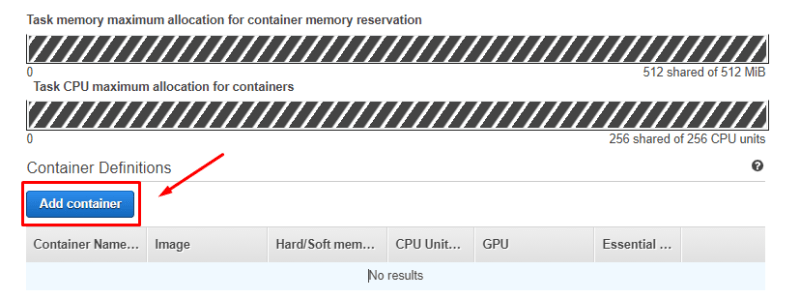
- Task definition is different parameter used to deploy container for ECS.
-
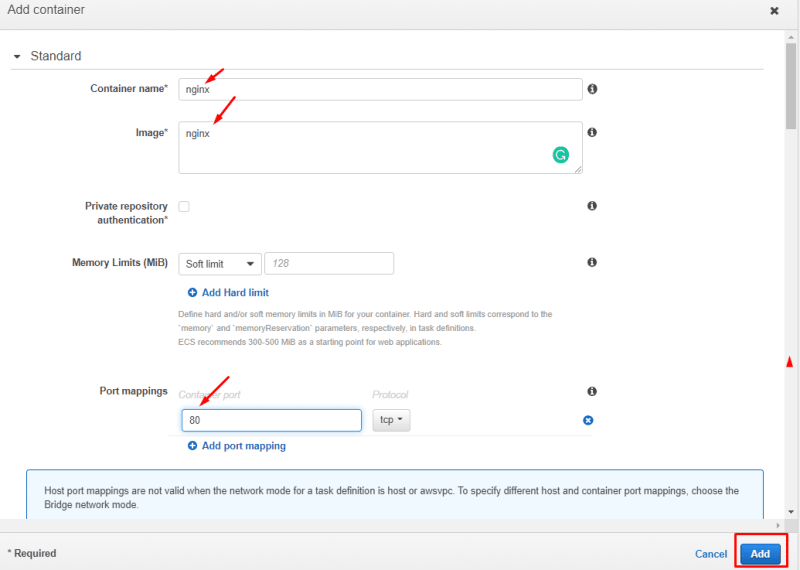
Step 3 Adding a container
- Lets name our Cointaner – nginx.
- Image – add URL from docker hub, am pulling nginx.
- Port Mapping – Expose port 80 for nginx.
- keep everything as it is.
- Now Click Add & then Create
-
Step 4 Deploy a task using task definition.
- Now Click Actions -> Run Task
- Make sure you have selected the wright Cluster.

- And also select the VPC .

- Select all subnets Available.
- Now select a Security Group with port 80 open.
-
Auto-assign public IP has to be ENABLED.

- Keep Everything as it is and click Run task.
-
Step 5 Wait and See the MAGIC.
- When the status changes to running hit the Public IP on your browser to see the nginx server running.
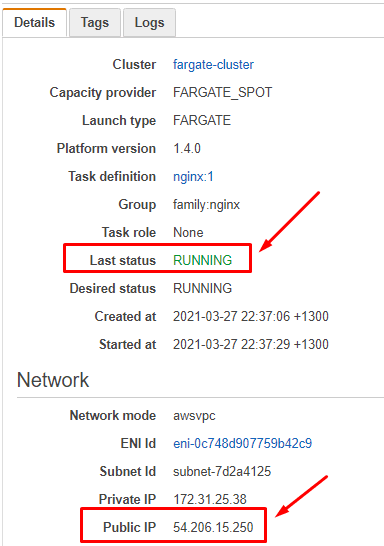
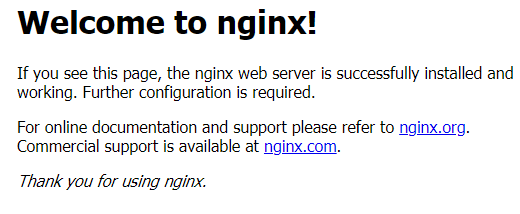
- When the status changes to running hit the Public IP on your browser to see the nginx server running.
✅Connect with me on Twitter
🤝🏽Connect with me on Linkedin
🧑🏼🤝🧑🏻 Read more post on dev.to or iCTPro.co.nz
💻 Connect with me on GitHub




Top comments (0)